
Have you ever received a full color image from a client who just wanted a one-color t-shirt print? If you have never done it before, the request might seem a bit overwhelming. However, it takes just a few easy steps to make it happen! Let me show you.
SIZE THE IMAGE
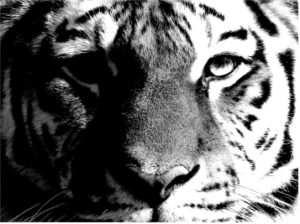
Open your image in Photoshop and check the image size (Image > Image Size). In a perfect world the image should be at least 12” wide and no less than 300 ppi for a full front imprint. However, if the image is smaller, the file may still work. Go ahead and size it to 12” wide and change the resolution to 300 ppi. If it was an extremely low resolution file and all you see is blurry blobs now, then you will have to find a higher resolution image.
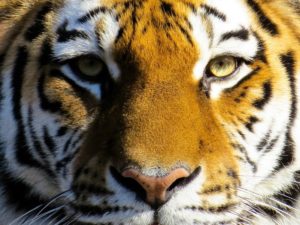
Image courtesy of Gerhard Gellinger
SET ADJUSTMENTS
Now that the image is sized, set your image to grayscale mode (Image > Mode > Grayscale).
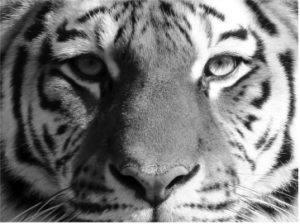
The next thing we need to do is adjust the contrast and we can do that by using curves (Image > Adjustments > Curves). Make sure to create a nice contrast between white and black by moving the top and bottom points like shown in the image below.
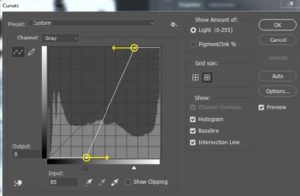
Keep adjusting the contrast until you are happy with your image. It should look something like this:
CREATE A HALFTONE BITMAP
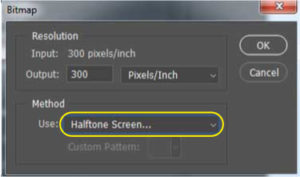
After you’ve achieved the look you want it is time to convert the image into a halftone bitmap (Image > Mode > Bitmap). Make sure the input and output resolution is 300 ppi. If not, start over and make sure you set the image size to be 300 ppi from the very beginning.
Click the drop-down menu in the “Method” section and use “Halftone Screen…” option. Click OK.
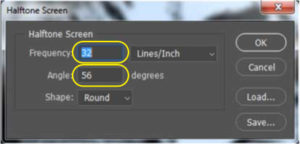
A new option box will open asking for the halftone screen info. Enter the numbers highlighted in the image below.
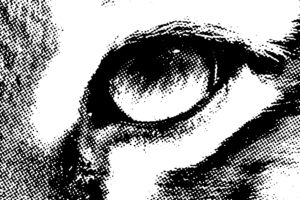
Click OK and voila! You have your very own halftone image with a transparent background. When zoomed in it should look something like this:
We are almost done, but we have one single and important step left to take. We need to know the colors of the garments and inks. If the ink color (positive space) is darker than the t-shirt color (negative space), leave the image as it is. But, if the ink color is lighter than the t-shirt color, you will have to invert the image (Image > Adjustments > Invert) before saving it. You can find examples at the end of the blog.
SAVING & USING THE PRINT READY & MOCKUP READY TIFF FILES
Last thing you need to do is to save it as *.tiff file (File > Save As > Choose saving location and “TIFF” from the drop-down menu).
Congrats! You have a print & mockup ready TIFF file with a transparent background. In order to use it for mockups just drag and drop it into an opened Illustrator file. You can change its color in Illustrator as well by simply selecting TIFF file and clicking on the color swatch of your choice.
See my mockups (inverted and original) below:

Thank you for reading my blog and I hope you learned a valuable skill which will help you create even more amazing T-shirt designs.
Cheers!
Karolina

Recent Comments